A few science experiments that we have done on a regular basis because they never get old..
The old Volcano/baking soda/vinegar trick.
I keep the volcano these days. We used to make a new one out of salt dough every time we wanted to do the experiment. Now I just keep it in the closet with the other science stuff. Putting it on a cookie sheet makes it more fun to make a Bionicle or Lego landscape that the lava can overrun. FYI, Model Magic makes a much better volcano than salt dough. It dries a lot better, and doesn't melt with the vinegar. We always make sure to add the red food coloring.

To make things easier for Derek, I pour the vinegar in a bowl so he doesn't have to pour it. He just dips his little measuring cup in the bowl and adds a little vinegar at a time to the volcano. I put the baking soda in a bowl too and give him a measuring spoon to add it in. And I always remind him to keep it all on the cookie sheet.....all on the cookie sheet, on the cookie sheet, on the cookie sheet on the cookie sheet....
Milk and Food Coloring Trick.
I love this experiment too. I never get tired of those swirling colors. The experiment calls for Milk (The fatter the better), food coloring, and dish soap...and toothpicks. 
This is why it works. Milk is made of 3 things.
Water, Fat and Protein. The Fat absorbs the food coloring, and the dish soap breaks down the fat. Hence, the swirling colors.

And you don't have to swirl the colors around. Just barley touch a drop of color with a dab of soap on the top of a toothpick. The colors explode automatically. It is the perfect activity for a boring day. And like I said, I love to play with it too. That is the best thing about being a mom. Playing. So glad I get to play. I just can't wait until summer so I have the time. It's been a hard year back at work. I know, I know. It's only part time. But I love being home. And I can't wait til I get to be there
all the time this summer...except of course when I am at the
POOL!!!!!!!!!!
 It's just that....
 How many adults....
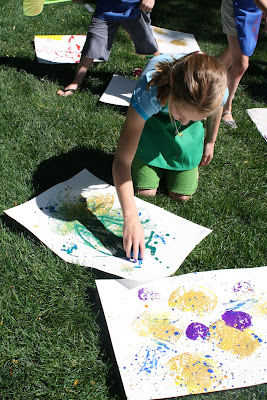 Would really want to?
 So thanks Jackson Pollock....
 For giving us a reason....
 To throw paint....
 And call it...
 Art.
Art.


 Spencer making sure to use his mom's favorite colors. Such a sweetie.
 Sam's amazing Sunflower
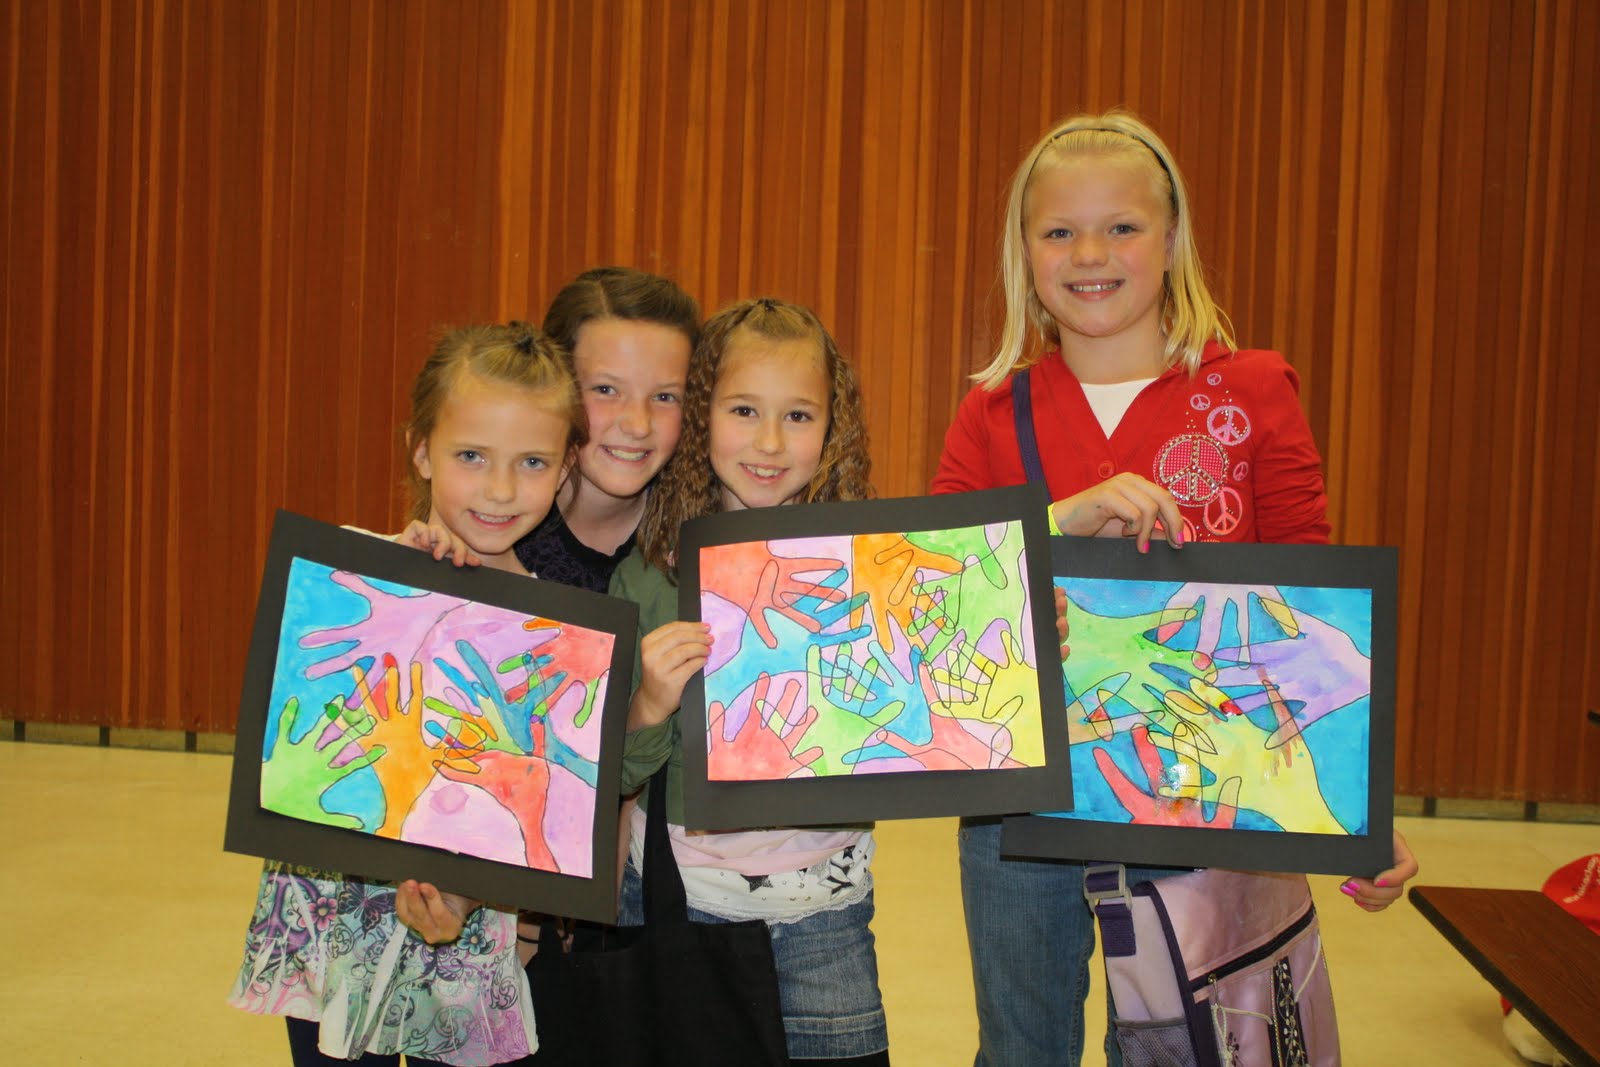


 This one is my favorite, by Alex. Almost Van Goghesk....
 1. I love to play with it when it is still warm.
 I would say it's less expensive, but store bought play-dough is not very pricey at all. Still, I love to make it at home for the fun of it.
 1 C. Flour
 We made up a batch Friday after we ran out of the model magic. Derek and his buddies played with it for about 15 min. Fortunately, Allison and Candice showed up and made it worth my time to make it. They created bunnies and ladybugs, and were excited that they could keep their creations.


 1 very very long cast.
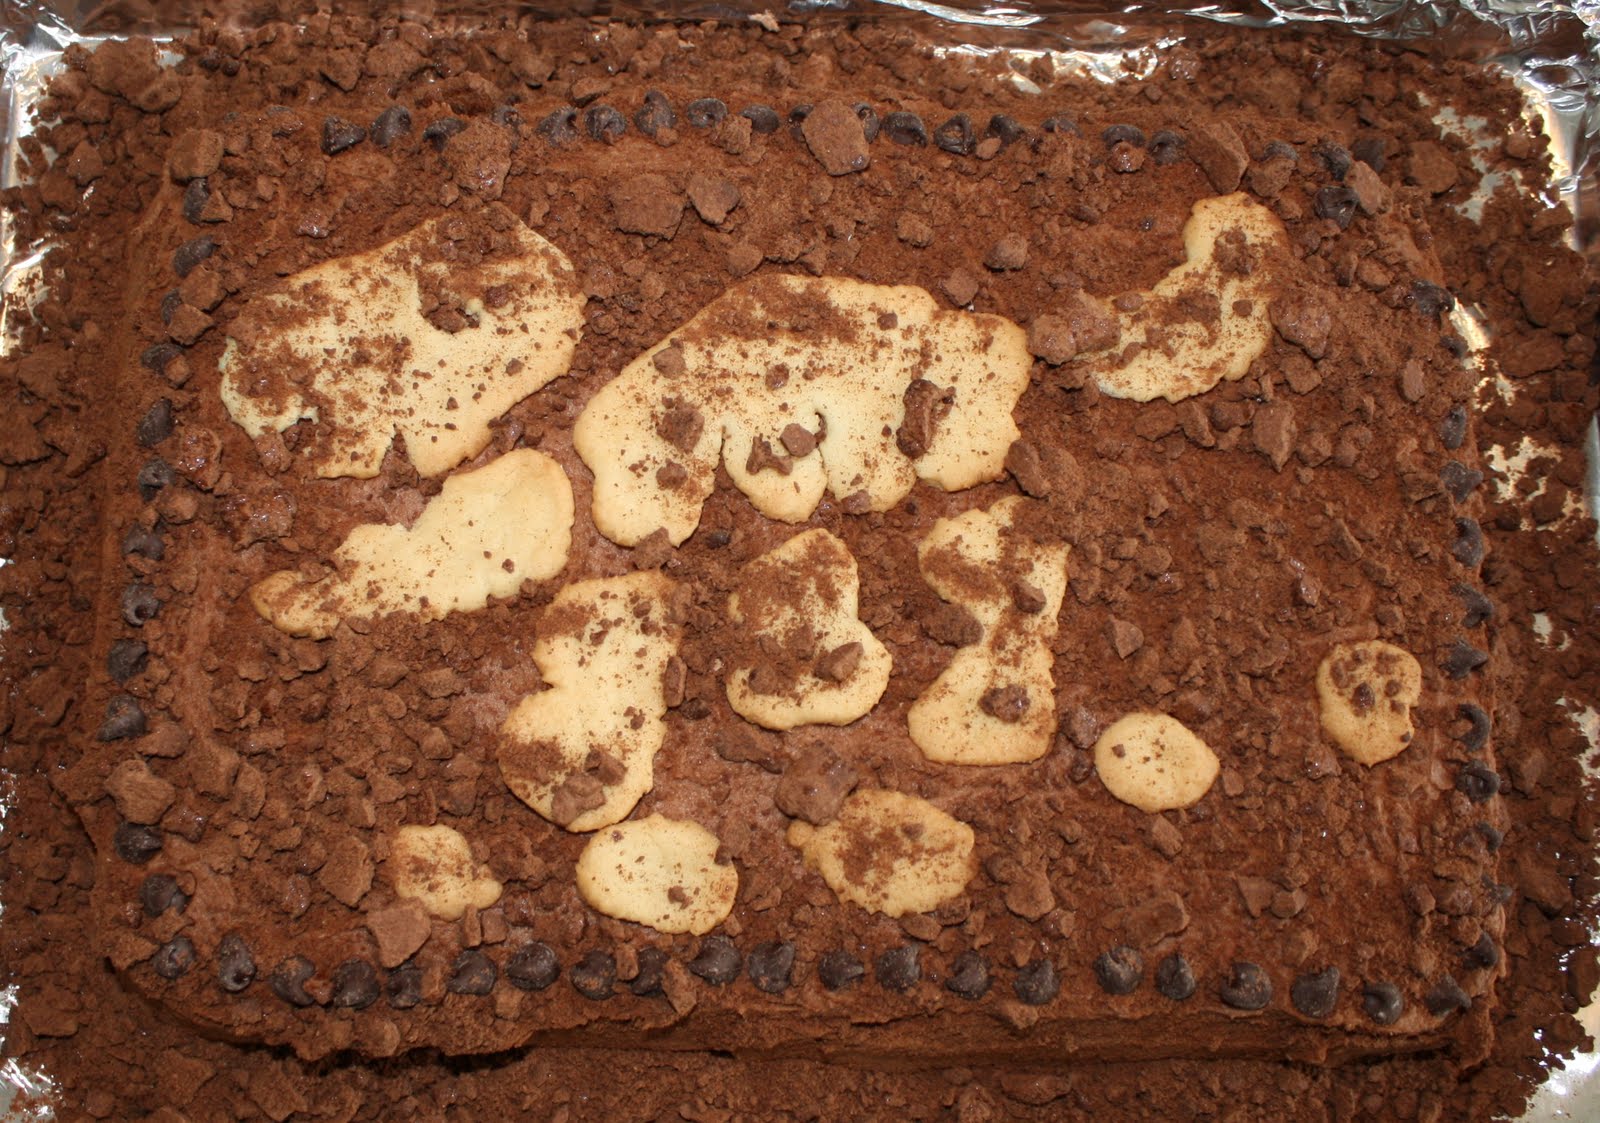
 So long big red cast.
 Derek wanted a
  Derek wanted to invite friends over, but he started in on the cake without them. And then Clint and Jeff had some for breakfast the next morning. Finally a few friends made it over to the house for a piece before it was gone. It was really dry because I made the cake from scratch and improvised the butter cake recipe to try to make it chocolate, and then cooking it in the


